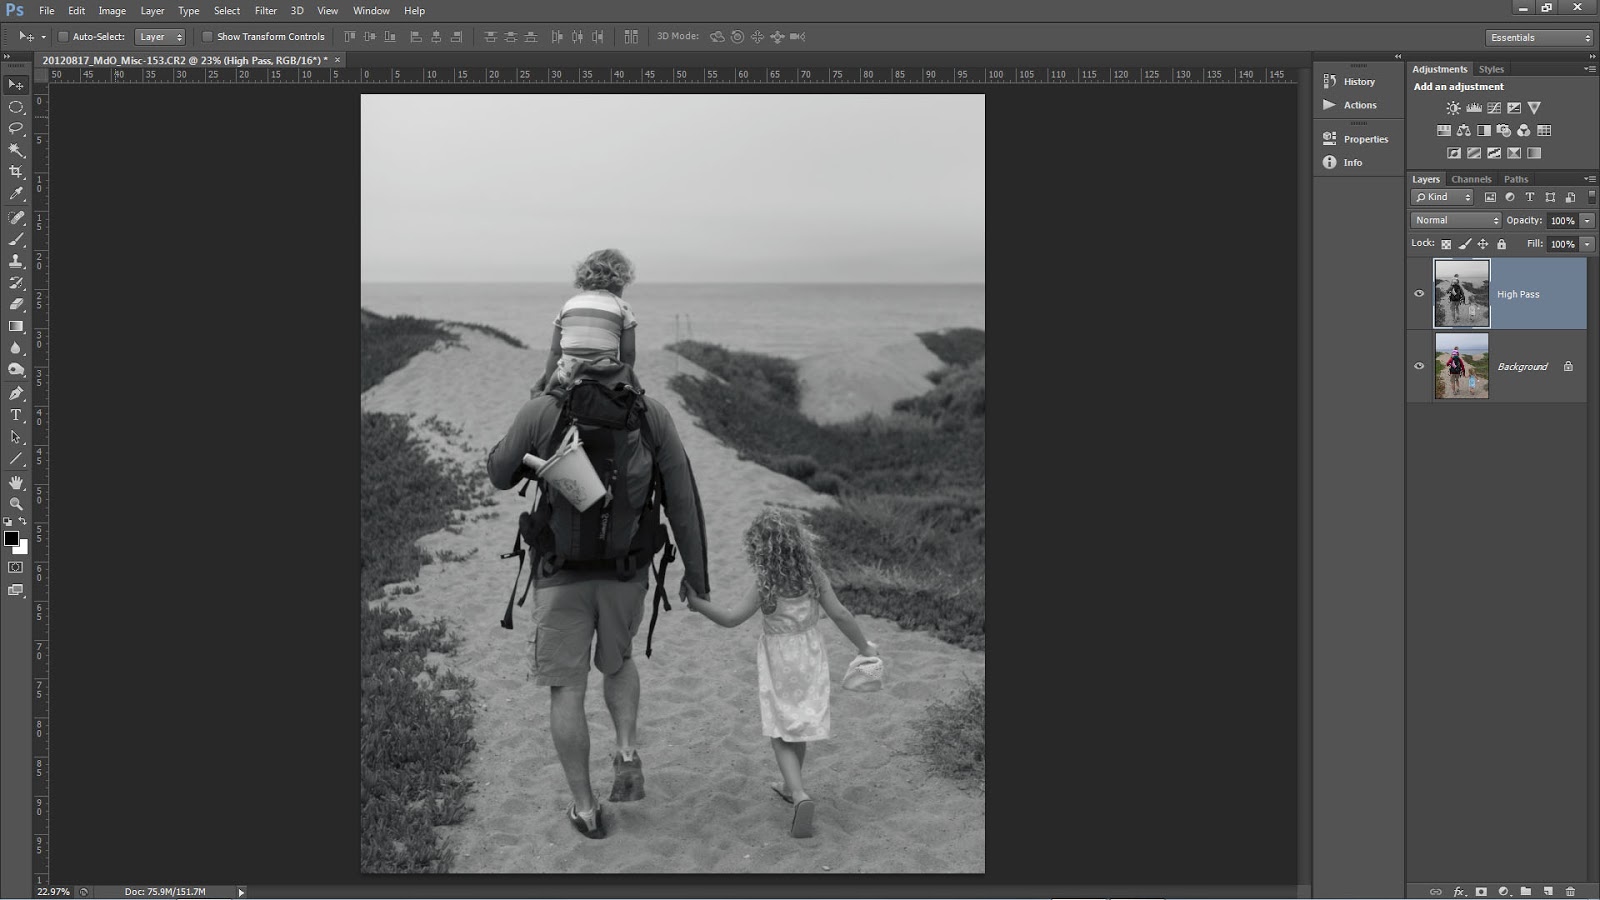
Recently, we have seen an increase in photographers using the High Pass filter in Photoshop to add edge contrast and texture detail to their images. This is a cool technique but when you use the filter remember to add two more steps; desaturate your layer before applying the High Pass filter and always target your filter effects with a mask.
You may have seen or heard many photographers talking about how they sharpen only on the Lightness channel in L*A*B* or they make sure to change the blend mode of their sharpening layers to Luminosity or they use the Fade option with a Luminosity blend mode change. There are many good reasons to make these switches and we suggest you use them in your sharpening or contrast boost workflow. For the same reasons, when you use High Pass desaturate.
It is a common misconception that when you run the High Pass filter you are left with an image that is baseline 50% gray and only shows brighter or darker tonality at the edge contrast and texture detail. Instead, High Pass may retain color information from the original image. This can lead to color shifts or colored fringe along a high contrast edge similar to haloing.
Notice the remaining color.
Our workflow is to copy the background layer or stamp visible if you have a multi-layer document and then desaturate via Image>Adjustments>Desaturate this can also be executed with the keyboard shortcut of CTRL+Shift+U for Windows or CMD+Shift+U for Mac.
For those who want to play or have more control you can
- Run a Black and White adjustment instead and modify the tonality of the color arcs.
- Use multiple layers of High Pass set to different radii.
- Leave the color in your layer in order to generate a color boost. Watch out for fringing!
- Use the filter on a Smart Object so you can make changes.
- Invert your filter layer to decrease contrast and texture detail.
The second misconception is that areas that appear to be smooth after running the High Pass filter are not. Make sure to use a mask and target the filter effect to only those areas that you want to modify. In general, LIGHT does not recommend enhancing the edge contrast or texture detail on the following:
- The sky especially blue sky.
- Areas of constant color or tone.
- Flowing water.
- Out of focus areas.
- Human skin especially female skin.
Fiat Lux!


What blend mode do you use for the High Pass filter layer?
ReplyDeleteI use Overlay, Soft Light, and Hard Light depending upon the effect I am looking for.
ReplyDeleteThanks so much for the tips! These are awesome. I've been trying to find some photographic workshops in my area lately, because I'm trying to get better, but it's really nice when you can just get good advice right on the internet! Thanks! :)
ReplyDeleteNice editing software. I hope there would be a trial for this.
ReplyDeletechristmas ornaments
It is true that we have need right effect of light in photography not only in it at least all the works we have needed light.
ReplyDeleteWorkshop Equipment
POSTINGAN ANDA CUKUP MENARIK, JANGAN LUPA JUGA UNTUK KUNJUNGI SITUS TERPERCAYA KAMI !!!!
ReplyDeleteBonus Slot Online New Member Free